Yesterday, I had five of my girlfriends over for a floral workshop with Matilda’s Magnolias. It was so fun! I can’t believe I’ve never done a workshop before this. I must say it was really nice being in the comfort of my own home with close friends. We had music playing, a cheese and charcuterie board, and free-flowing wine throughout the evening.
First of all, let it be known. I love Matilda’s Magnolias and can’t believe their boxes of blooms are only $39. It’s actually insane compared to the market and flower shops around the city. They are stunningly beautiful, curated, and high quality/farm fresh every. single. time. I’ve been lucky enough to learn about the company and receive a few boxes over the last six months and have become such a big fan.
It was so lovely to be able to meet Emily, one of the founders (the other being her husband!), and have her teach us a few things about arranging a spring bouquet. After years of flower arranging for fun, I learned things I never thought about which really excites me about putting bouquets together in the future. I’ll share the tips below!
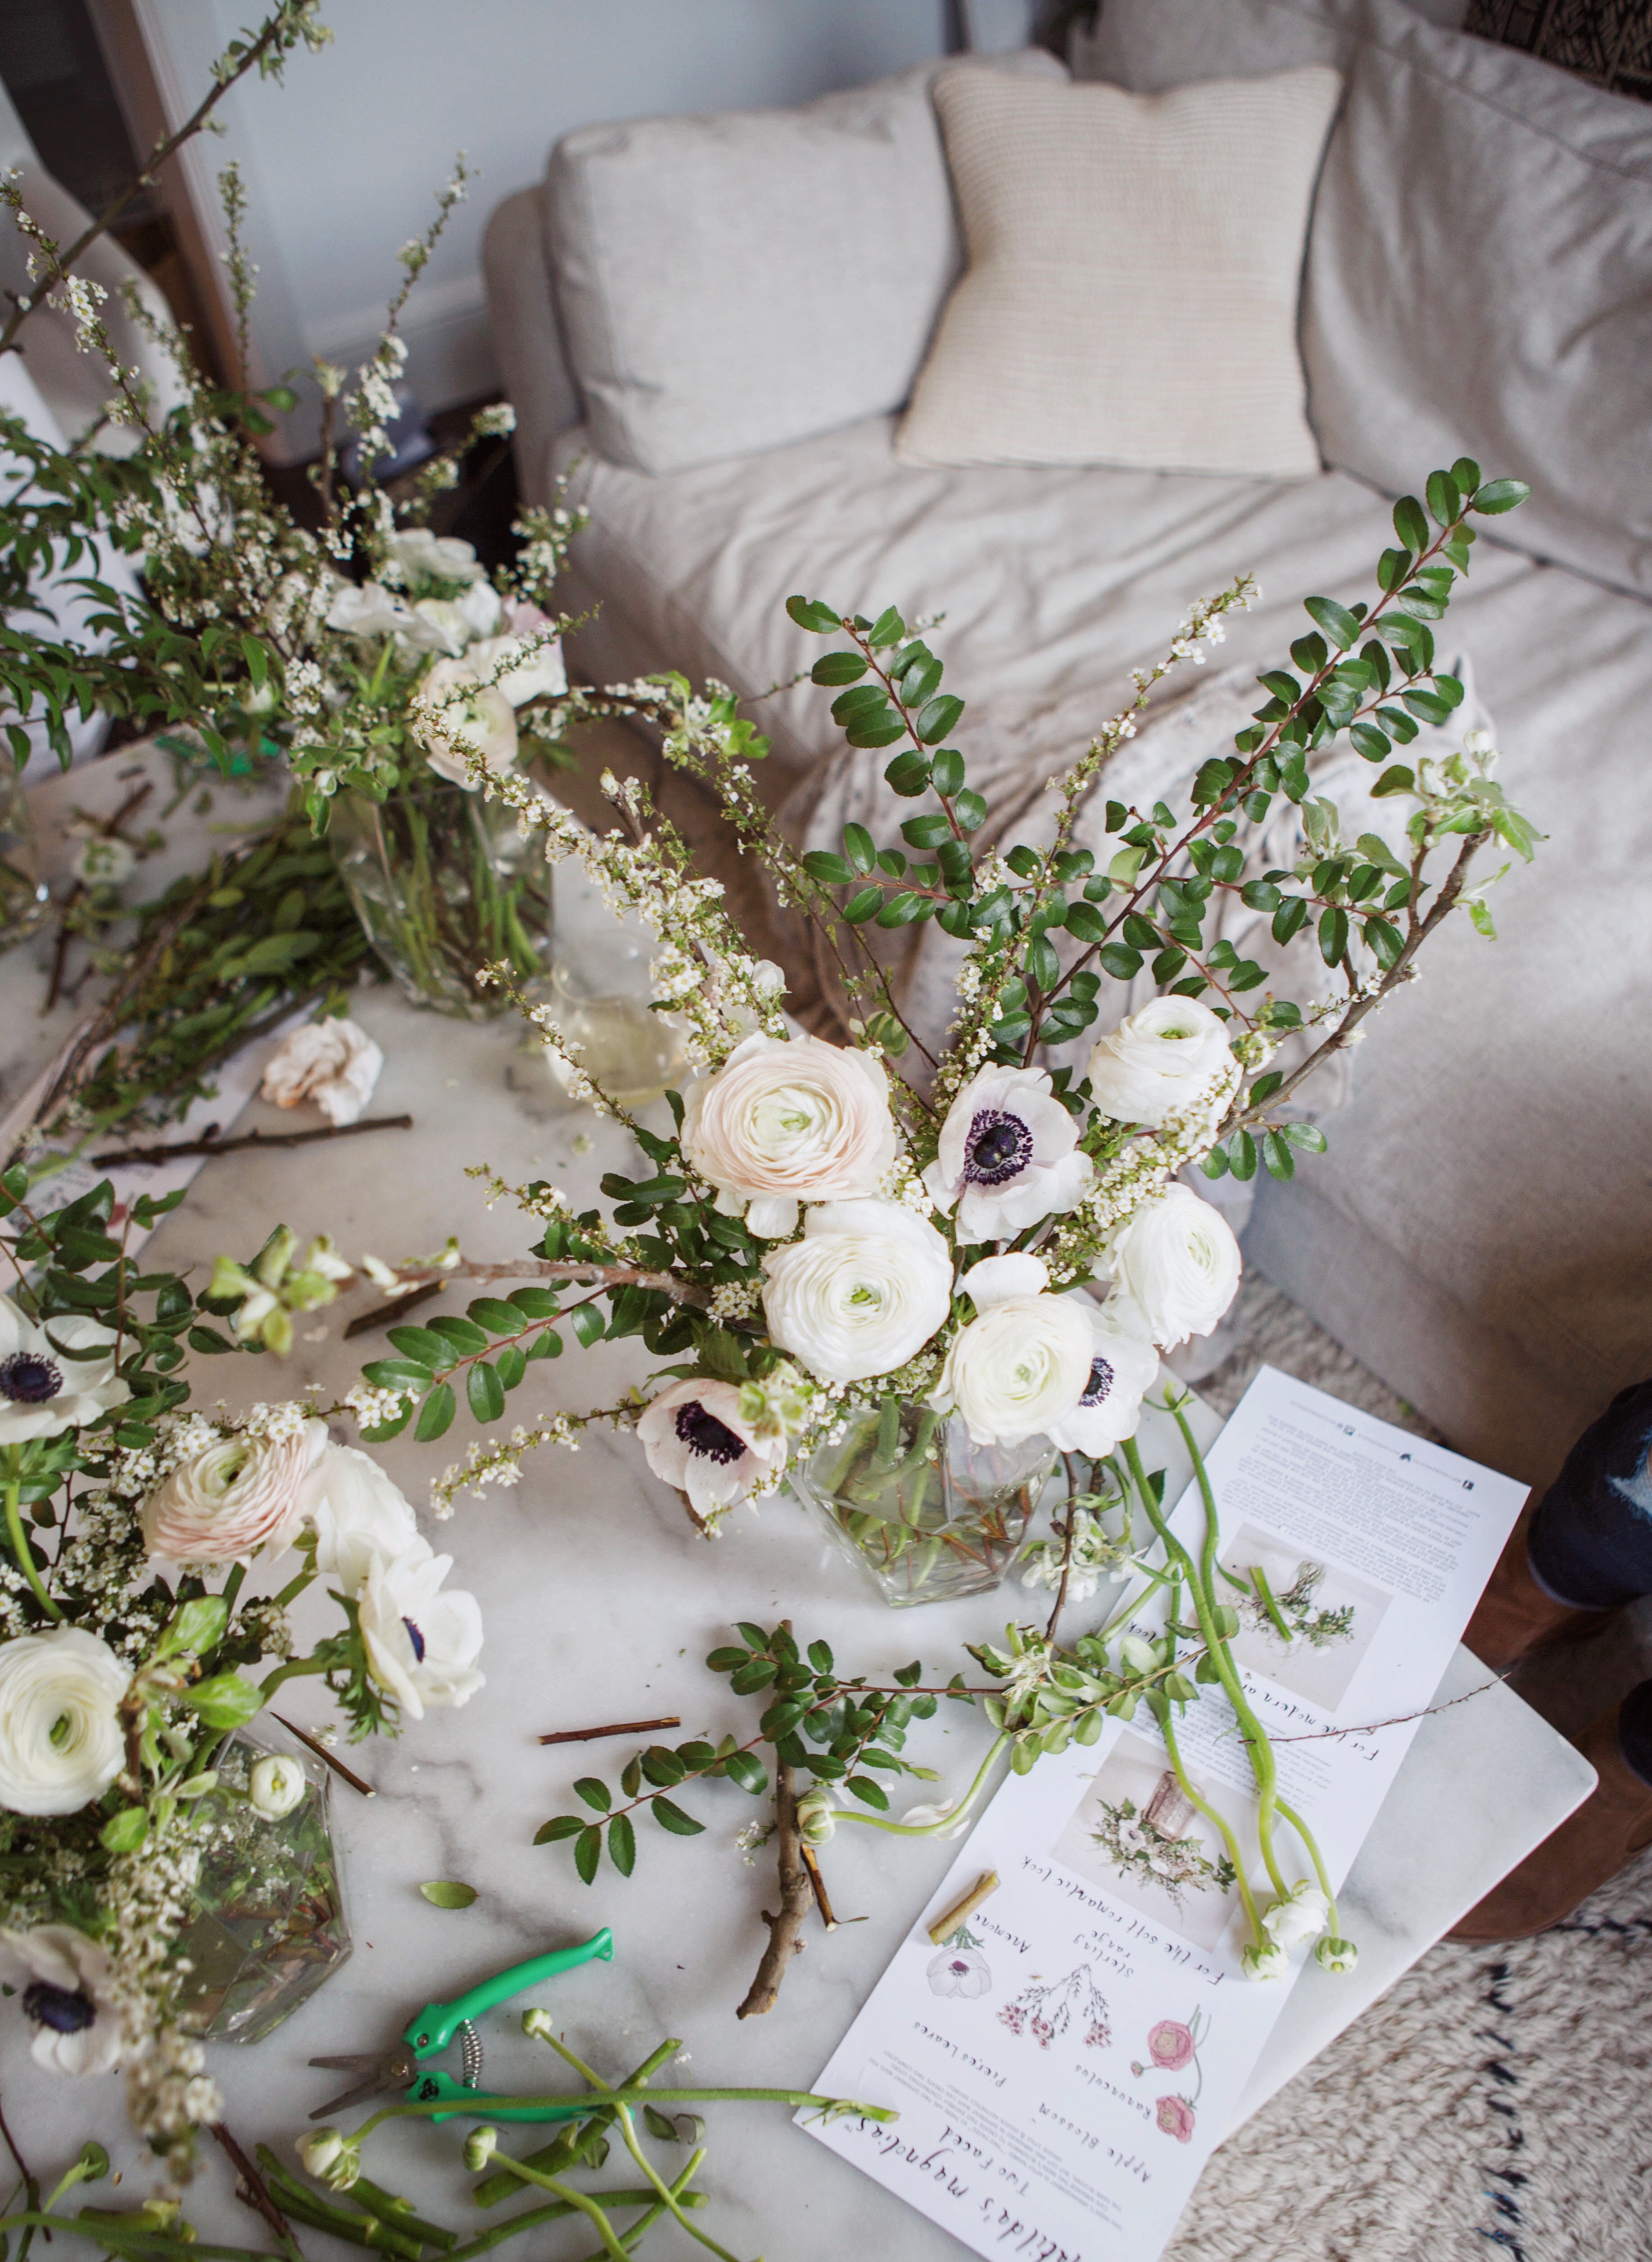
This month’s bloombox is called ‘Two-Faced’. Sweeter than it sounds! “Aptly named Twofaced for this Bloombox wonder there are two different ways you can arrange it. The same blooms but cut and arranged in different ways can either create a modern, structured architectural look, or a boho chic, soft romantic look. With apple blossom and big pristine white ranunculus, it’s one of our favorites!”.


A few tips when arranging your blooms…
Flower Clippers
I am finally convinced I need to get myself a pair of flower clippers after working with them. They were so easy to use and they help keep the flowers healthy. Before you arrange your blooms, be sure to cut them diagonally when deciding on the length. Also, make sure there are no leaves touching the vase water (they contaminate, giving your bouquet a shorter life).
Modern Arrangements need Dimension
This is one trick I see all the time and love but hadn’t nailed myself. We started with the biggest bloom, the apple blossom branch, which was to be the height and shape of the bouquet.
The stars of the show
The ranunculus are the darlings of the arrangement (4-5 of them), so next, we sprinkled those in at all different heights and directions so that every single one had its own place, where you could see each one perfectly. This was my favorite takeaway! I had never thought about that before. I always cut the main bloom at the same height. Mind-blown. Then we did the same thing with the Anemones (purple center) to add some contrast and a little more charm.
Fill it in with greens
Last, we added some greenery to add a little more shape and dimension in some areas if you wanted and filled in any open areas that needed to be filled. And viola! What a stunner…


Such a fun evening, going to have to do this again!
Share this story


Hi
Can you tell me where you sourced the floral box from? I’m launching in a few months and would love to use the brown kraft floral box you used for your Ladies Night: Floral workshop